


How To Straw or Pencil Dispenser with Free PDF Fillable Download
I did want to post something nice that I have finished as a result of seeing a picture that was shown to me from one of my colleagues. I'm sure you've seen something from another source like Pinterest. My finished product is the first picture and the second is a picture of the first one I was shown:


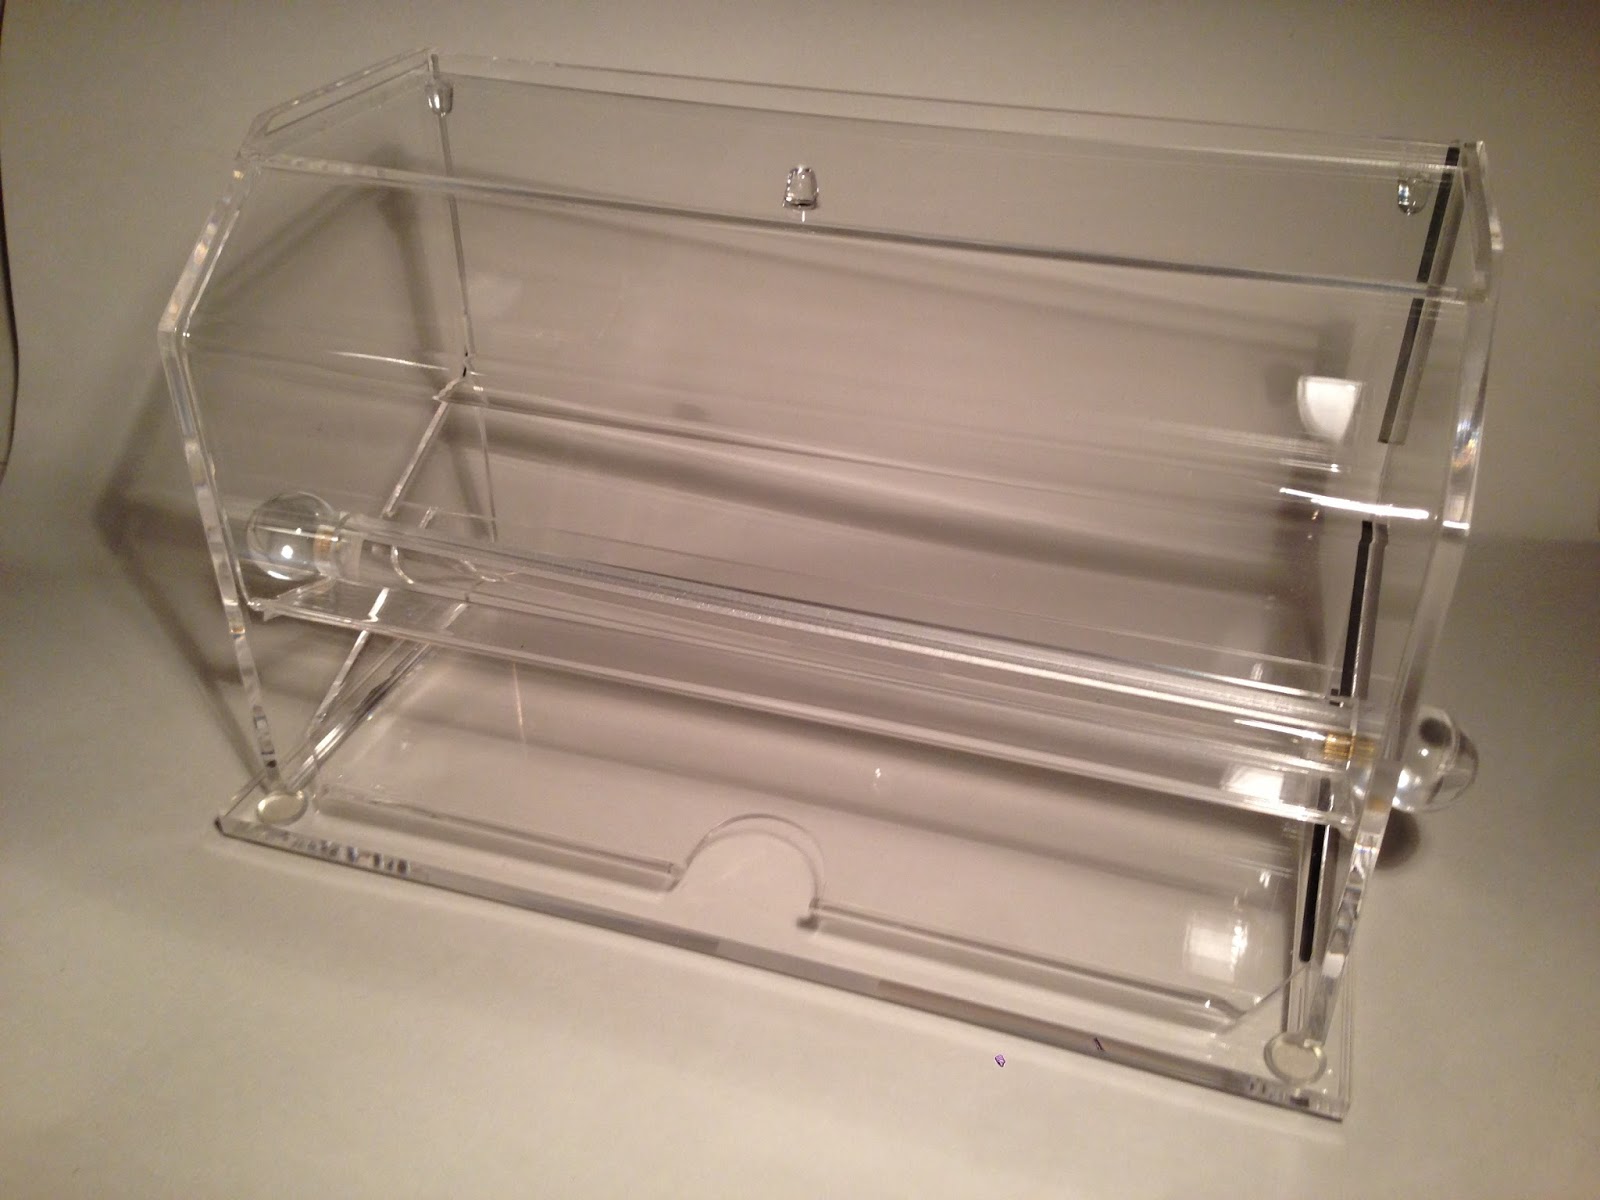
The one on the right is almost $100 and is out of the budget for most teachers. I thought this was a great idea, so I went looking for a more realistic option. I found one on Amazon (link here: http://www.amazon.com/Winco-Acrylic-Straw-Dispenser-each/dp/B001VZCSS0) at under $25 with Free Shipping.

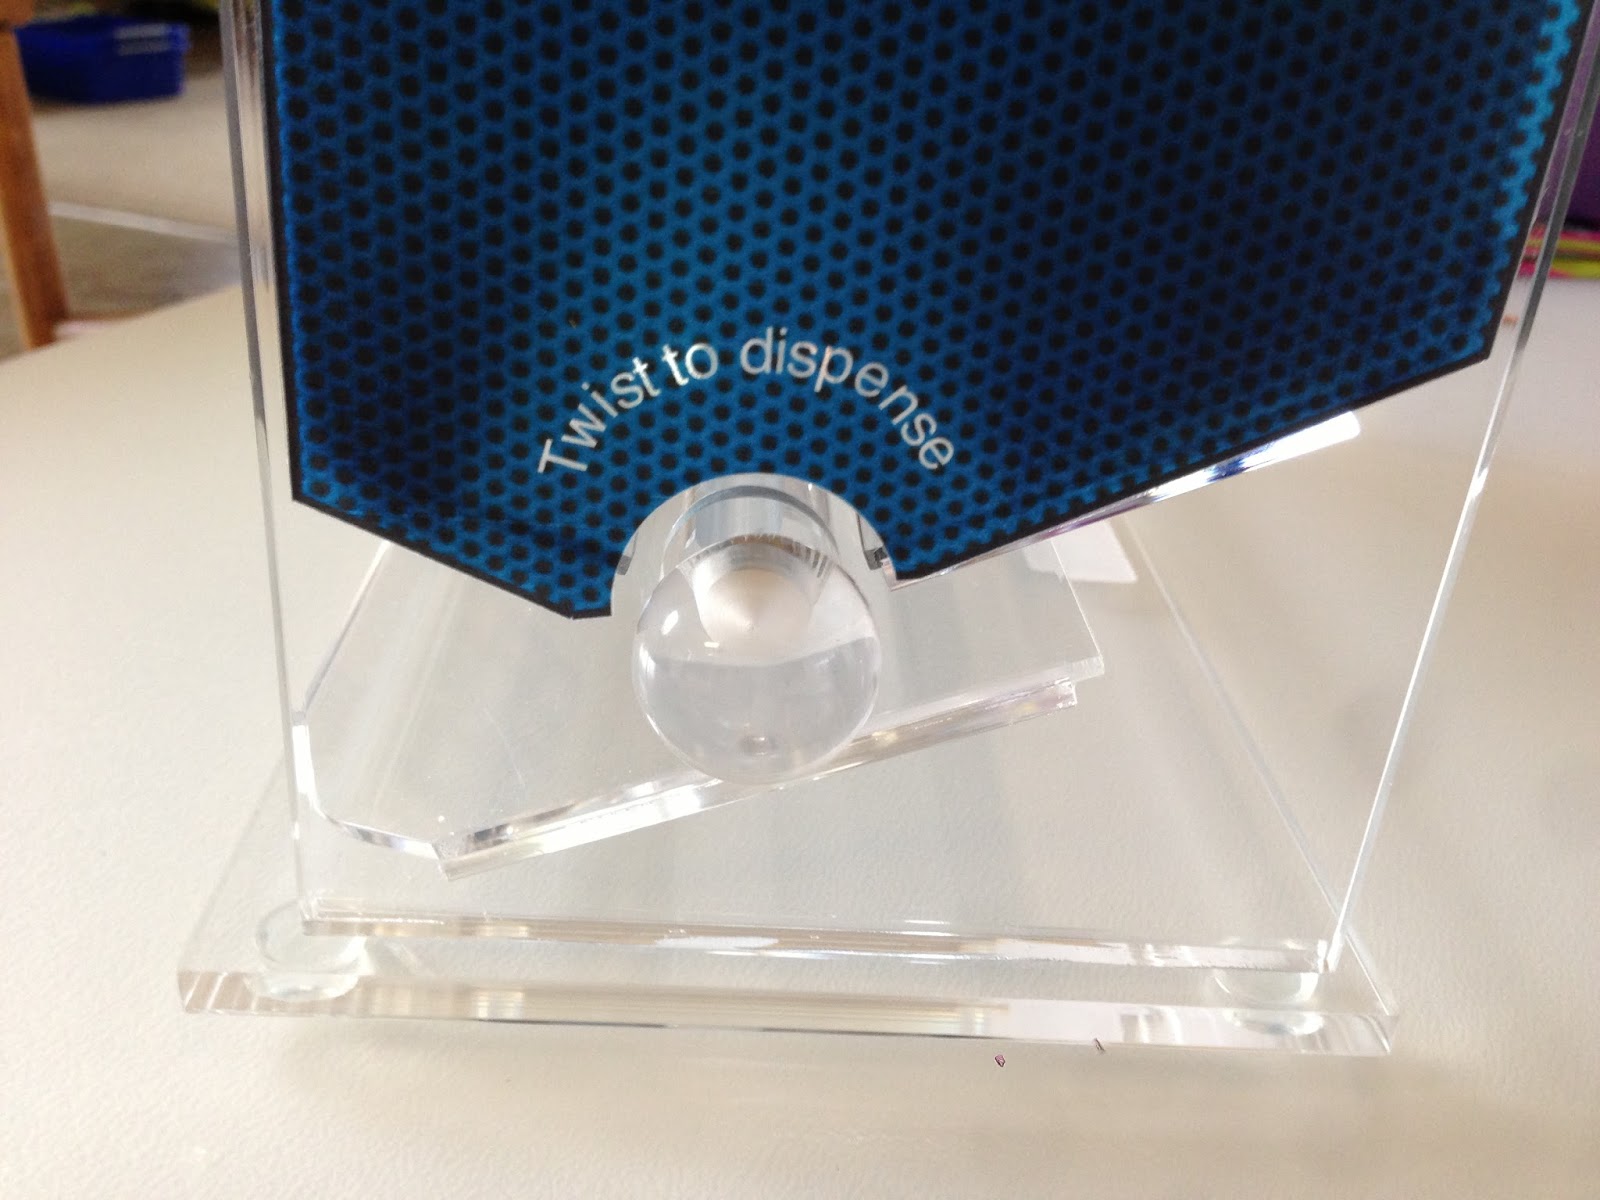
However, I didn't want just a clear Acrylic pencil dispenser. After using it for a few days, I wanted to personalize the clear acrylic.
Here is what I ended up with. Yes, the PDF is a fillable form so you can insert your name instead of mine : ) Scroll down to the end of the post to download the file.


I will try to include all information you need to to complete this, but there are some choices to come to a similar result.
Type of Paper/Material used to cover the Acrylic
*I chose to use a clear label paper (one side is adhesive) and printed using a laser printer. This is the option that I would recommend due to the final finish. You can find full sheet clear labels at most office supply stores. You may also use white label paper (used for shipping labels), or you can use regular paper and place the paper inside the pencil compartment. For this option, you will need to tape the paper inside and trim the side pieces to make it work. The top, front, and back pieces should all work for taping inside without additional trimming.
The Process
*The process is easy as I have done most of the hard work which is the sizing of the pieces. Simply cut out and place on the acrylic. Please note that it is important that you begin at the top of your piece and press slowly down the adhesive label. If you do not begin at the top and work your way down you may get pockets of air or creases.

Pictures say more than a long paragraph, so here is the process that's fairly self explanatory:


Here is the PDF to do exactly as I did. Please get it here: Please make sure to open this in Adobe Reader so you can fill and view correctly. Also make sure that you are not shrinking or changing the size of the print area.
Have a great week!


